Here is the good news for the Samsung Galaxy S9, S9+ users, now the TWRP recovery is available for both the phones. That means now you can Root Samsung Galaxy S9, S9+. To be able to root your Galaxy S9 and Galaxy S9+ first you need to install the TWRP recovery on your phone with the help of ODIN flash tool, and after that, you have to flash SuperSU or Magisk Zip file to get the root access on your Samsung Galaxy S9, S9+. Right now this method will work only on the Exynos variant, which is powered by the Samsung’s own processor.
So today here in this guide we will explain to you how to get the root access on Samsung Galaxy S9, S9+ and Install TWRP Recovery. Once the phone is rooted you can enjoy lots of rooted apps, install Magisk Module, and Install the Xposed module on your phone. So let’s get started and root Galaxy S9, S9+.

How to Root Samsung Galaxy S9, S9+
Read all the steps very carefully and follow all the steps one by one on your phone. Warranty may be void of your Galaxy S9 (or S9 Plus) if you follow the procedures given on this page. Technobuzz.net is not responsible for any damage that might happen to your phone during this process. You’ll lose all your data upon unlocking bootloader.
Pre-requisites to Root Galaxy S9, S9+
1. Check the phone model of your phone. This method will work only on these models SM-G960F/FD/N (s9) and SM-G965F/FD/N (S9+).
2. Take the Full backup of your phone.
3. Make sure that your phone’s battery is above 80%.
4. A USB cable to connect your phone to the PC.
Download Files to Root Samsung Galaxy S9, S9+ and Install TWRP
- Download TWRP recovery for Galaxy 9 here ( Model no. SM-G965F/FD/N )
- Download TWRP recovery for Galaxy 9+ here ( Model no. SM-G965F/FD/N )
- Download ODIN flash tool here
- Download the Super Su or Magisk zip file here to root the phone.
- Install Galaxy S9 USB driver here
How to Install TWRP Recovery on Galaxy S9, S9+
Step 1. Enabled the OEM Unlock option in Settings. Go to Settings > About phone, and then tap ‘Build number’ 7 times or until you see the ‘you’re now a developer’ message pop up. Now you will see the developer option in the Settings. Now, look for OEM Unlock, and select it using its toggle button.
Step 2. Now unzip the ODIN folder on your desktop. In the folder, you will see the ODIN exe file. You have to use this app to install the TWRP recovery on your Samsung Galaxy S9, S9+.
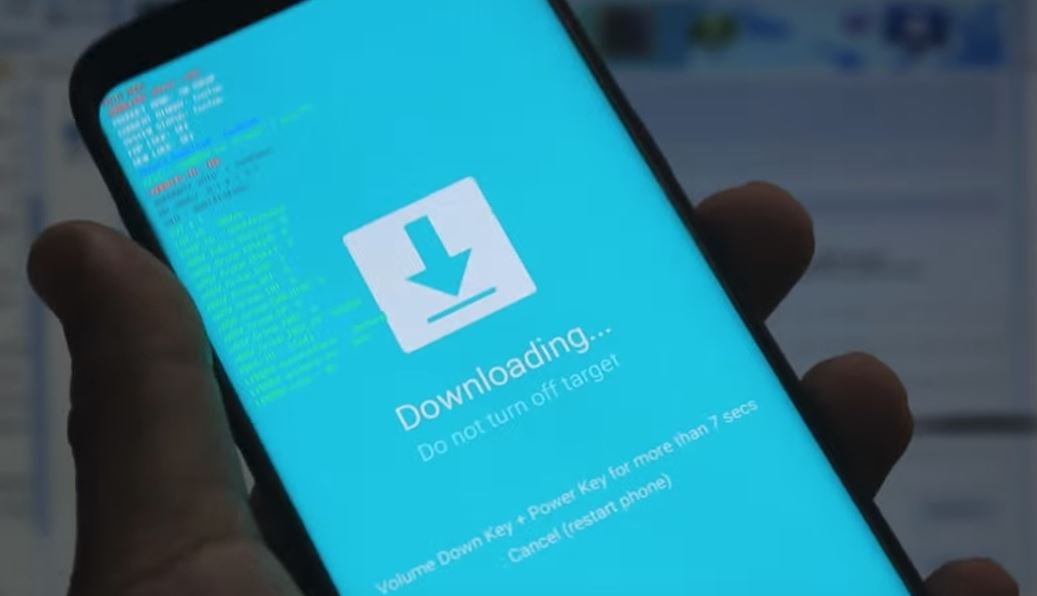
Step 3. Now time to boot your phone into the Download Mode. To do this Power off your Galaxy S9. Wait 6-7 seconds after screen goes off. Now Press and hold the three buttons Power + Bixby + Volume down buttons together until you see the Warning screen. Press Volume Up to continue to download mode.

Step 4. Now your phone is in download mode. Connect your phone to the PC with USB cable.
Step 5. Now run the ODIN app on your PC and you will see the ADDED message on the ODIN screen. That means your phone is connected to the ODIN.
Step 6. Now Load the TWRP file into Odin. For this, click the AP button on Odin and the select the TWRP file in the .TAR format.
Step 7. Make sure Re-partition and Auto Reboot checkbox are NOT selected, under the ODIN Options tab.

Step 8. Now everything is ready. Click the Start button on Odin to flash the TWRP recovery on your phone.
Step 9. Once the files are flashed, you will see the PASS messages on the ODIN screen.
Root Root Samsung Galaxy S9, S9+
Step 1. After following the Step 9 form the above method. Your phone is still on the download mode.
Step 2. Now boot your phone in TWRP recovery mode. Press and hold Volume down + Bixby + Power button together until the phone turn off, but once the phone is off, do this quickly: while still holding the Power and Bixby button, press Volume Up in place of Volume down button to reboot into recovery mode.
Step 3. Now your phone will boot into TWRP mode. From here select allow for System modification. After that tap on Wipe option, and and then select Format Data option. Swipe now to format data partition.
Step 4. Now connect your phone to the PC. And transfer the SuperSU or Magisk file to your phone.
Step 5. Now tap on the Install button on your TWRP and then select the SuperSU/Magisk zip file. Then do the swipe action at the bottom to install the root tool.
Step 6. After that tap on Reboot option, and then on System to restart your Galaxy S9, which will now have root access.
Now you successfully installed the TWRP and Root Samsung Galaxy S9, S9+. If you need any help with Galaxy S9 root and TWRP recovery, let us know in the commnets section and we will try our best to help you out.
Via- XDA
