
CDN setup is one of the best way to speedup your WordPress blog, so today we let you know how to Setup MaxCDN in WordPress blog. CDN is one of the easiest way to make your site load faster. MaxCDN is one of the popular and recognize CDN service, most of the popular WordPress blogs are using this service to increase the speed of WordPress blog. So today we will show how you can install and setup MaxCDN in WordPress with the help of W3 Total Cache Plugin.
To setup your MaxCDN account you need a MaxCDN account, WordPress W3 Total Cache Plugin and Hosting cpanel account to make come change in DNS. Just follow this guide carefully and you will be able to configure MaxCDN with help of W3 Total cache.
Read Also: 5 WordPress Plugins to Increase Blog Traffic
How to install and setup MaxCDN in WordPress
Step 1. First Signup for a MaxCDN account here
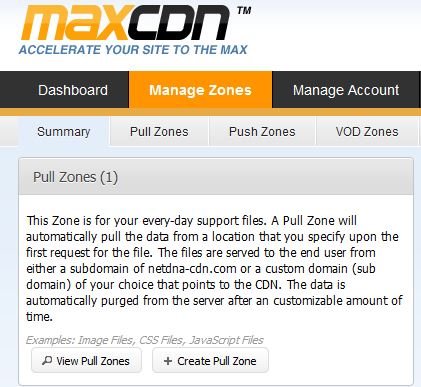
Step 2. Now Login to your MaxCDN account and click on the Manage Zones button and then click on “Create Pull Zone” icon.
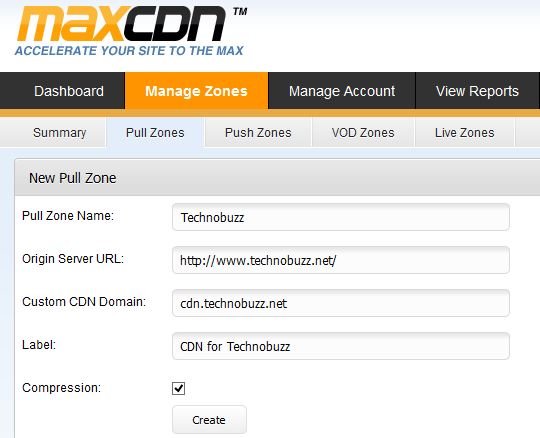
Step 3. Now on the next page you have to add the details of site in which you are MaxCDN account. Fill up the pull zone details and enable ‘compression’ . Click on ‘Create’ and wait for few minutes. See the Screenshot below for more information:-
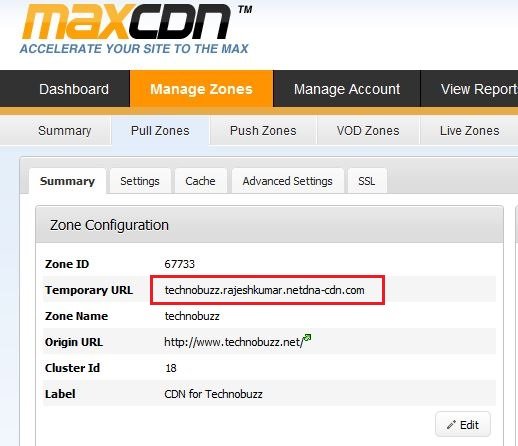
Step 4. Now you Pull Zone is created, note down the primary url for your cdn which in my case was technobuzz.rajeshkumar.netdna-cdn.com. We will need to use it in later steps. See the screenshot below for more info:-
Step 5. Now login to WordPress hosting cpanel and scroll down to the Domains Section and click on Simple DNS Zone Editor.

Here you can see the Add a CNAME record box, In the name box add your Custom CDN Domain. For example, our custom CDN domain is cdn.technobuzz.net, so we will put “cdn” in our name field. In Cname field add the CName that you coped in step 4.

Step 6. Now login to your WordPress Dashboard and go to the W3 Total Cache Plugin settings page. Now in General page you should see a CDN section at the bottom. Click enable box from here and select NetDNA/MaxCDN as your CDN type and then click on Save all settings.
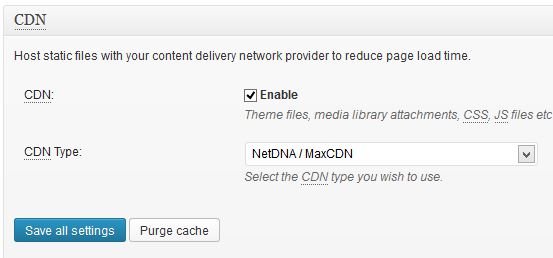
After this you have to go CDN menu in W3 Total Cache to configure MaxCDN with WordPress. Here you have to add API ID, API Key, and your custom domain names.

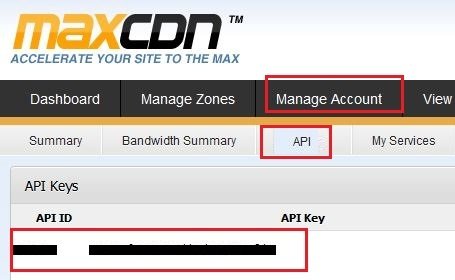
Step 7. To get the API ID and API key, go to the MaxCDN account, from here click on the Manager Account > Api. Here you can see the API ID and API key, copy the API key and ID and paste in to the WordPress CDN (Step 6)
Step 8. After adding the API id and key, hit the save button and click on Test NetDNA button to check the CDN is working or not.
Video Demo:- How to Setup MaxCDN With WordPress
That’s it now your CDN account is setup with your WordPress blog. With this way you can increase the speed of your WordPress blog, we recommend that you start using a CDN service like MaxCDN. Use this link to get 25% off on MaxCDN account.
.