
In an Android device you can make lots of change like you can change the wallpapers, Theme, Icons, Ringtones etc. If you have the rooted device then there are various ways in which you can personalize your Android device. Today, In this guide we’ll show you how can download and install the custom fonts on your rooted android device. To get started all you need a rooted phone with custom recovery installed. All credit goes to XDA member gianton who has shared hundreds of beautiful fonts for Android device. All these fonts are full flashable zips and will replace all containing stock Roboto fonts. Works on any device running a 4.x.x ROM with TouchWiz, Sense 5/5.5, AOSP, CyanogenMod, ParanoidAndroid, Google Play Edition, MIUI and others.
So, if you want your favorite font on your android phone or tablet, read the below mention guide and install the new fonts on your device and use them easily. All you hvae to download the fonts, flash them and experience the novelty.
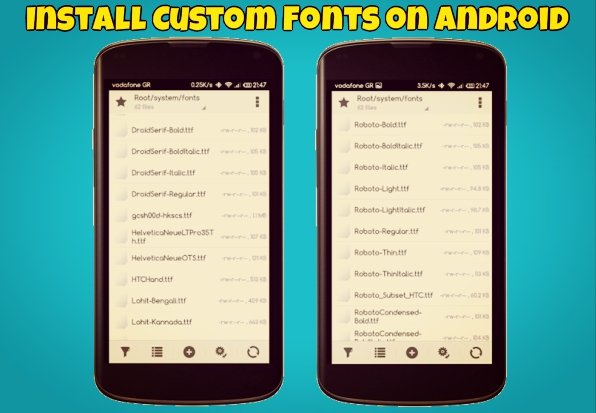
Download And Install Fonts on Android
NOTE: This process will not add new fonts to your device. This will replace the default fonts on your device, In futures if you want to go back on the default font, than here is the zip file with the stock Roboto fonts from the 4.3 base ROM.
Step 1. Download 355-flashable-zips-by-gianton.zip fonts on your desktop and extract the folder on your desktop.
Step 2. In this folder you will see lots of flashabe fonts zip file, select the one which you want to use on your device and move the Font ZIP file on your phone’s internal or external SD.
Step 3. Now turn off you android and boot the device in Recovery Mode.
Step 4. Do not forget to backup your current ROM before trying the fonts. Read our guide here Nandroid Backup Guide – How it Works With Recovery and via Android App
Step 5. In the recovery mode, select the “Install” option (in TWRP) or “install zip from sdcard” (in CWM). And select the fonts zip file and select it and confirm the installation.
Step 6. Now the custom Fonts are installed on your android device. Now Reboot the device from the recovery Menu.
That’s it! Now you will see the newly installed font applied to your device. Enjoy!
Via- XDA