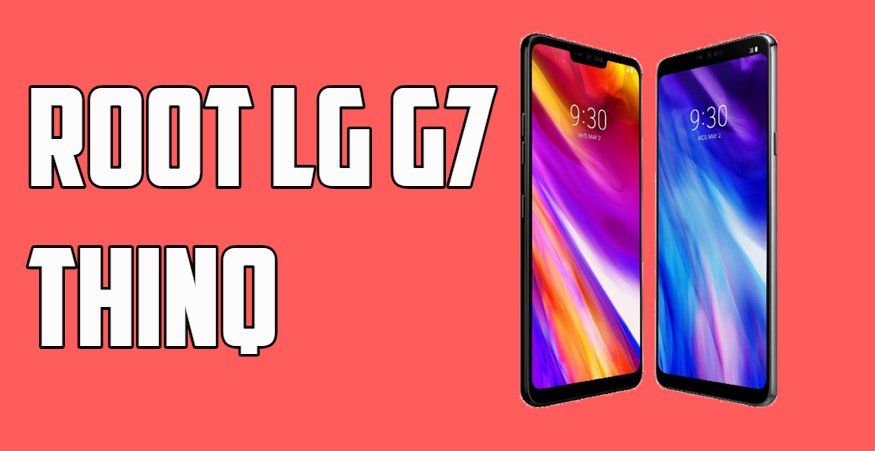
Here is the Complete guide to Root LG G7 ThinQ Android Phone. LG G7 ThinQ is the latest Android smartphone form the LG mobiles. Form last few years they facing some bad times in the mobile market. But with this new LG G7 ThinQ Android Phone, they are ready for the great comeback. No doubt the new phone is packed with some decent specs. It was officially announced on May 2, 2018, after about a week of official leaks by LG. The device serves as the successor to the 2017 LG G6 and comes with Qualcomm Snapdragon 845, 4GB of RAM, LG G7 ThinQ packs a 16-megapixel primary camera on the rear and an 8-megapixel front shooter for selfies and powered by a 3000mAh.
With this new Android phone ASouth Korean company is looking to grab some good mobile market space in the premium segment of the smartphone. If you are going to buy this phone or already pre-booked and looking for a guide to Root LG G7 ThinQ Android Phone. You are at the right place, here in this guide we will show you how to get the root access on the Root LG G7 ThinQ Android Phone. To root any phone you have to unlock the bootloader of the phone first. But the US variants don’t have the permission to unlock the bootloader. But with this guide, you can root your phone easily. So let’s take a look how to Root LG G7 ThinQ Android Phone.
How to Root LG G7 ThinQ Android Phone
Warning: Technobuzz.net is not responsible for any damage that might happen to your phone during this process. You’ll lose all your data by following this guide. So do take the full backup of your phone.
Read all the steps very carefully and follow all of them one by one on your phone. This guide is only for model G710EM (Global Version). So don’t apply this method on any other models, otherwise, you will brick your device.
Why To Root LG G7 ThinQ
With the help of rooting you will do lots of things on your device like Install Custom Roms, improves the battery performance of your device, remove unwanted system applications, install tweaks and other modification on your device easily and enjoy a lot of free rooted application on your device.
In simple word, we can say rooting gives you the administrator-level permissions on your device and customize your device as per your need which is impossible for a normal android. Check out some other benefits of Rooting the Android phone.
Pre-Requirements to Root the phone
1. Install the ADB and USB Driver on your Windows PC from here. This will create an ADB folder on your Windows System Drive. You can find this folder on your C drive (C:/ADB)
2. Enable USB debugging on your Huawei Android device. To do this go to your Settings -> About -> Software Information -> More -> Now Tap on the Build Number 7-8 Times until you see a toast message “Developer option enabled”.
Now go back to settings -> Enable the OEM Unlock by going to Settings -> Developer Option and Enable OEM Unlock and USB Debugging. See the screenshot below.
3. Install LG USB drivers, tutorial: Download Moto USB Drivers For Windows
Steps to root the LG G7 ThinQ
This method is a little bit complicated and taker some time to read all the instructions and then proceed. And do take the full backup of your phone.
1. Download the ADB and USB Driver on your Windows PC from here. This will create a Platform Tools folder on your desktop.
2. Download the Root package file on your PC. Click here to download.
3. Once the file is saved on your Desktop. Rename it to g7-root.img and copy the file in the Platforms tool folder that you created in Step 1.
4. Open a command prompt window inside the Platform Tools folder: Holding Shift key + Right Click > Select Open Command Window here.
5. Now time to connect your phone to the PC. Use the original USB cable and connect your phone to the PC.
6. Once the phone is connected. Run the following command on the command prompt windows screen to boot your phone in the bootloader mode.
adb reboot bootloader
7. Now your LG G7 ThinQ phone will boot in bootloader mode.
8. So now the time comes to root LG G7 ThinQ. To Root your device you need to flash the g7-root.img on your device. To flash the g7-root.img execute the command as.
fastboot flash boot_a g7-root.img
astboot flash boot_b g7-root.img
9. After running these two commands, your device will get root permission, and you can enjoy root-enabled apps on your device.
10. LG G7 is rooted now. Now we just restart the device now by running this command:
fastboot reboot
11. Once the phone is booted successfully. Now visit this magisk manager page and install Magisk.apk (Not the zip file). Apk file on your phone.
So this is the easiest way to root your LG G7 ThinQ. If you are facing some trouble with this guide them leave the comments below and we will help you to fix it up.


Don’t try this out if you are on V10f-EUR-XX. I just bricked my brand new phone.
when i say abd reboot bootloader it just reboots to android please help
My device will now hang on the “LG G7 ThinQ” logo. What to do?
Torsten
I tried this on a lg g710ulm and it goes to the boot loader but hangs at the first flash command. Am I supposed to do anything on the phone when in bootloader? It has green restart, then quick guidance, 1 2 3, but no way to select anything and says boot loader in unlocked in section 3